data_forget Helper for Laravel
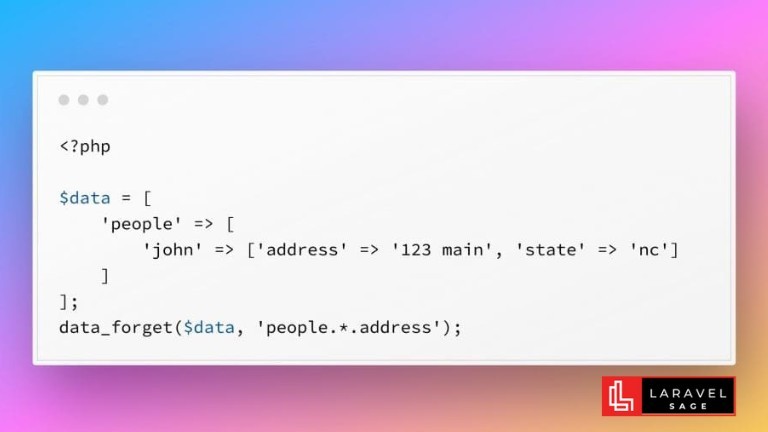
Since Laravel version 10.15, there is a new utility function called data_forget that allows you to remove keys from an array or object using a "dot" notation.
6 min read
Tags:

You can make your Laravel app multi-tenant using the Tenancy for Laravel Tenant package.
This tenancy package lets you make any Laravel application multi-tenant without rewriting it.
If you need a different setup, it's 100% possible. See the package's documentation for more information.
With this package, you don't have to write your application a certain way. It will automatically make your application multi-tenant, in the background, just as you would normally do.
The process is as follows:
A request has been made
Tenant identification is based on the request (domain, subdomain, path, header, query string, etc.).
Switches the default database connection to the tenant's
Any database calls, cache calls, queued jobs, etc., will be scoped to the current tenant.
The first step is to require the package using composer:
composer require stancl/tenancyNext, we run the tenancy:install command:
php artisan tenancy:installThere will be a few files created: migrations, config file, route file, and service provider.
Now let's run the migrations:
php artisan migrateIn config/app.php, register the service provider as shown below.
/*
* Application Service Providers...
*/
App\Providers\AppServiceProvider::class,
App\Providers\AuthServiceProvider::class,
// App\Providers\BroadcastServiceProvider::class,
App\Providers\EventServiceProvider::class,
App\Providers\RouteServiceProvider::class,
App\Providers\TenancyServiceProvider::class, // <-- here
To use separate databases and domains, we need to create a custom tenant model. Create a file called app/Tenant.php with the following code:
<?php
namespace App;
use Stancl\Tenancy\Database\Models\Tenant as BaseTenant;
use Stancl\Tenancy\Contracts\TenantWithDatabase;
use Stancl\Tenancy\Database\Concerns\HasDatabase;
use Stancl\Tenancy\Database\Concerns\HasDomains;
class Tenant extends BaseTenant implements TenantWithDatabase{
  use HasDatabase, HasDomains;
}
Now we tell the package to use that model for tenants:
// config/tenancy.php file'tenant_model' => \App\Tenant::class,Your app is divided into two parts by the package:
An app that hosts the landing page, maybe a dashboard to manage tenants, etc.
Tenant app - which is what your users (tenants) use. This is likely to be where most of the business logic lives.
Following our understanding of the two parts, let's separate our application accordingly.
Let's start by ensuring the central app is only accessible from central domains.
Make sure your web and API routes are loaded only on the central domains in app/Providers/RouteServiceProvider.php:
protected function mapWebRoutes(){
foreach ($this->centralDomains() as $domain) {
 Route::middleware('web')->domain($domain)->namespace($this->namespace)
 ->group(base_path('routes/web.php'));
}}

protected function mapApiRoutes(){
  foreach ($this->centralDomains() as $domain) {
    Route::prefix('api')
->domain($domain)
->middleware('api')
->namespace($this->namespace)->group(base_path('routes/api.php'));
}}

protected function centralDomains(): array{
  return config('tenancy.central_domains');
}
Add the central domains to your config/tenancy.php file.
For me, the central domain is saas.test, and the tenant domains are hello.saas.test and bye.saas.test.
So let’s set the central_domains key:
'central_domains' => [
'saas.test', // Add the ones that you use. I use this one with Laravel Valet.],It's almost too simple, but it's the fun part.
In order to make some code tenant-aware, follow these steps:
Migrate the migrations to tenant/
Routes should be moved to tenant.php
When a tenant is created, migrations in that specific folder tell the package to run those migrations; routes in that specific route file tell the package to identify tenants.
Using a fresh app, follow this example. Using an existing app, follow this example:
By default, your tenant routes will look like this:
Route::middleware([
'web',
InitializeTenancyByDomain::class,
PreventAccessFromCentralDomains::class,])->group(function () {
Route::get('/', function () {
return 'This is your multi-tenant application. The id of the current tenant is ' . tenant('id');
 });
});
PreventAccessFromCentralDomains enforces that these routes will only be accessible on tenant (non-central) domains.
Add this to the middleware group so that we can actually see multi-tenancy in action:
Route::get('/', function () {
dd(\App\User::all());
return 'This is your multi-tenant application. The id of the current tenant is ' . tenant('id');
});
The tenant app migrations should be moved to database/migrations/tenant.
For creating users in tenant databases, let's move the users table migration to database/migrations/tenant. This will prevent the table from being created in the central database, but rather in the tenant database.
Let's create some tenants now.
We can create a landing page in Tinker where tenants can sign up!
Let's open php artisan tinker and create some tenants. Tenants are just models, so you create them exactly the same way as any other Eloquent model.
If you're using PHP Artisan Serve, you'd use foo.localhost. I'm using Valet, so I've used hello.saas.test. If you're using Valet, you'd use hello.saas.test.
$tenant1 = Tenant::create(['id' => 'hello']); $tenant1->domains()->create(['domain' => 'hello.saas.test']);
$tenant2 = Tenant::create(['id' => 'bye]);    $tenant2->domains()->create(['domain' => 'bye.saas.test']);
Now let's create a user in each tenant's database:
App\Tenant::all()->runForEach(function () {
   factory(App\User::class)->create();
});
A multi-tenant app is now available!
To see a dump of users, visit hello.saas.test (or your environment's equivalent).
The databases are completely separated, so the code we use — AppUser::all() — does not need to know about tenancy at all. Visit bar.saas.test to see a dump of users. The whole thing happens automatically. You simply write your app, without thinking about scoping yourself, and it works!
Unlike a SaaS that simply dumps users, your tenant will have a more complex application inside their tenant application. You have to write the business logic. The package will handle the rest.
The Tenancy for Laravel project provides extensive assistance for multi-tenancy, taking care of all the complexities. However, if you're building a SaaS, tasks such as setting up billing processes and an onboarding system will be your responsibility. If this seems overwhelming, they offer a premium option - the multi-tenant SaaS boilerplate. This package comes with a fully functional app that would typically require hours of coding to integrate. For further details, visit their page.
You can find more details in the package's quickstart tutorial or documentation.

Full-stack developer with a knack for Merging creativity with technical expertise for standout solutions.
Since Laravel version 10.15, there is a new utility function called data_forget that allows you to remove keys from an array or object using a "dot" notation.
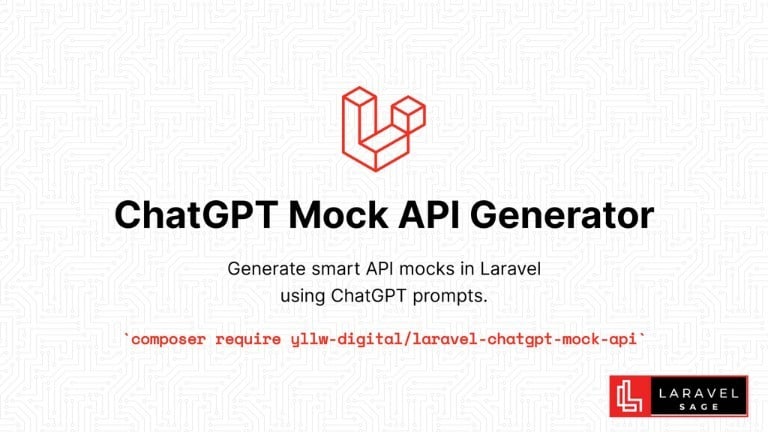
The ChatGPT Laravel API Package Generator package for Laravel generates smart API mocks in Laravel using ChatGPT prompts:
Are you ready to take your Laravel skills to the next level and build extraordinary applications? Look no further! In this blog post, we will unveil a treasure trove of top packages that will revolutionize your development process.
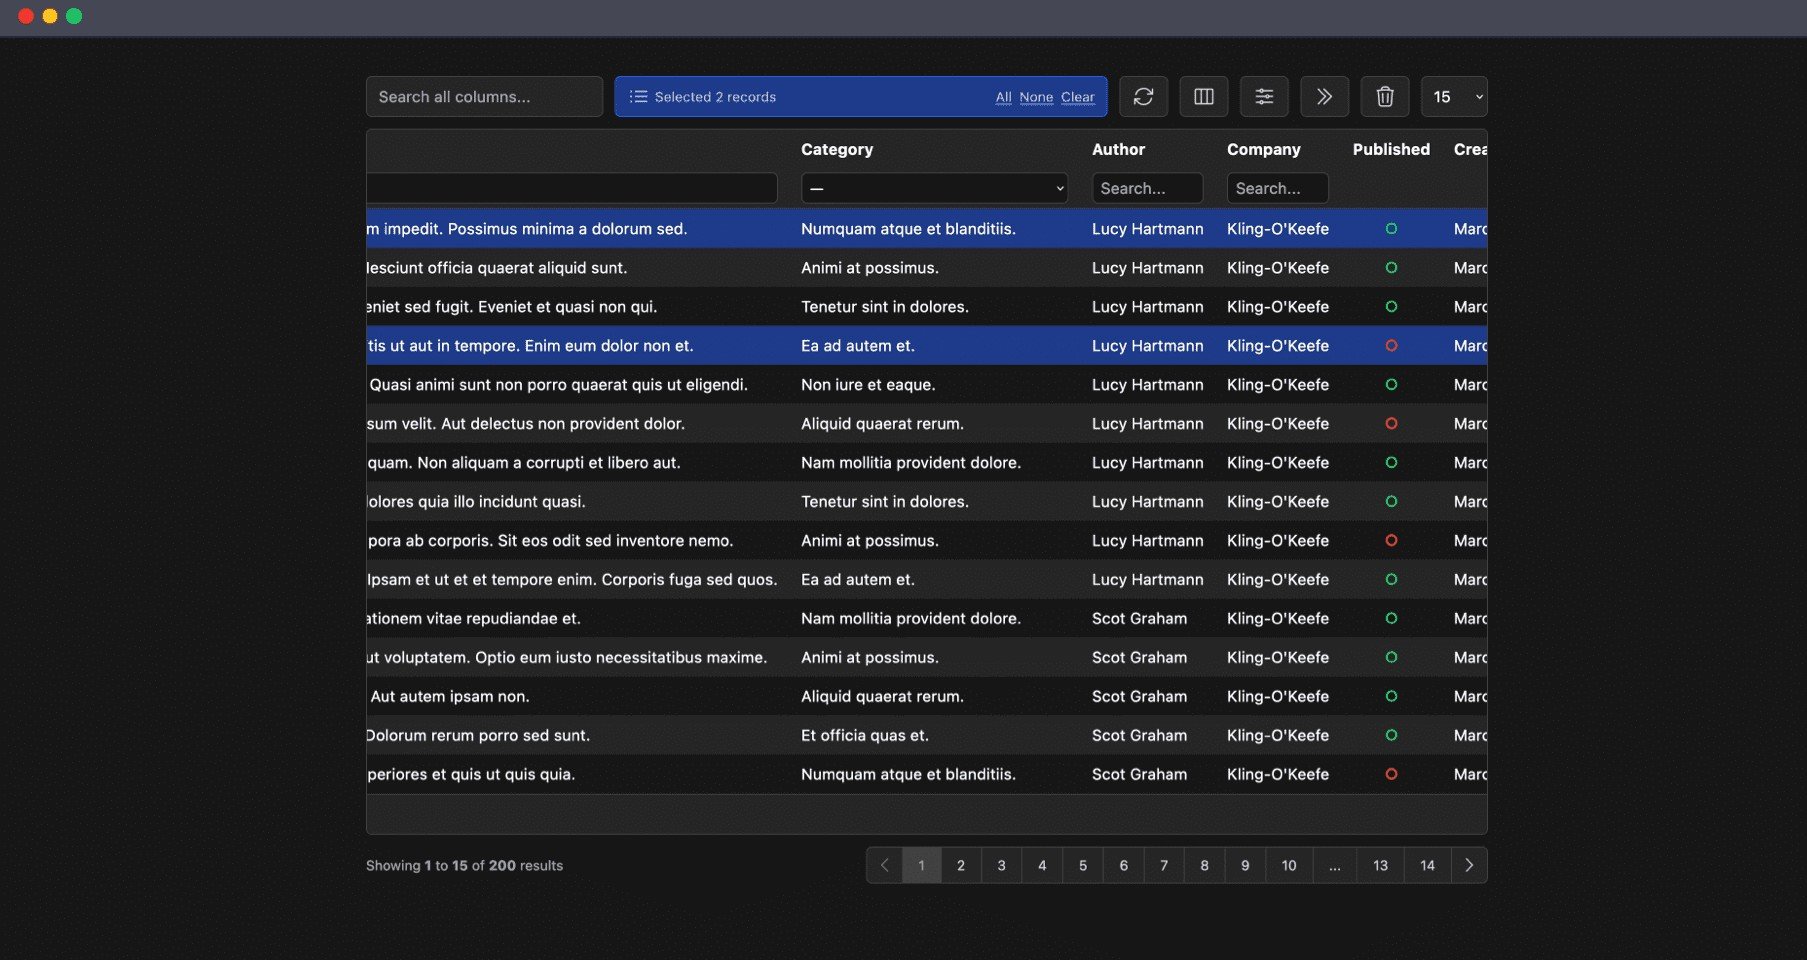
The Livewire Tables package brings dynamic tables for models to Laravel Livewire. These are some of the features which you will get out of the box:
The MJML PHP package by Spatie can help you create email templates more easily. But there is a catch. It can be difficult to craft visually appealing and functional email templates that work across a variety of email clients.
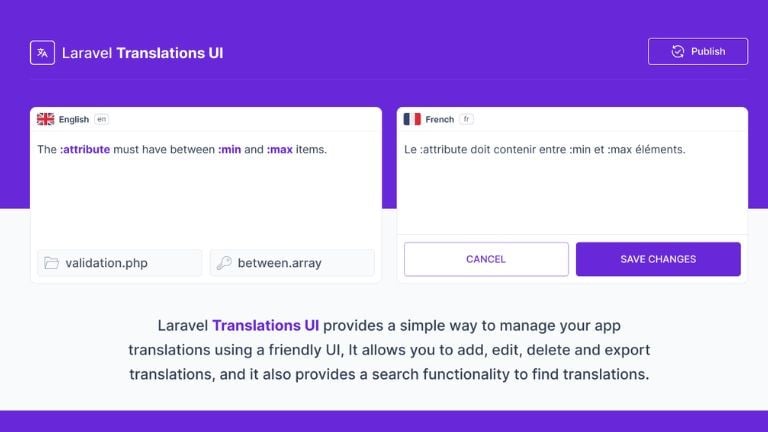
Laravel Translations UI is a package that provides a simple and friendly user interface for managing translations in a Laravel app.
Subscribe for 20+ new Laravel tutorials every week
You can unsubscribe at any time. You'll also get -20% off my courses!