data_forget Helper for Laravel
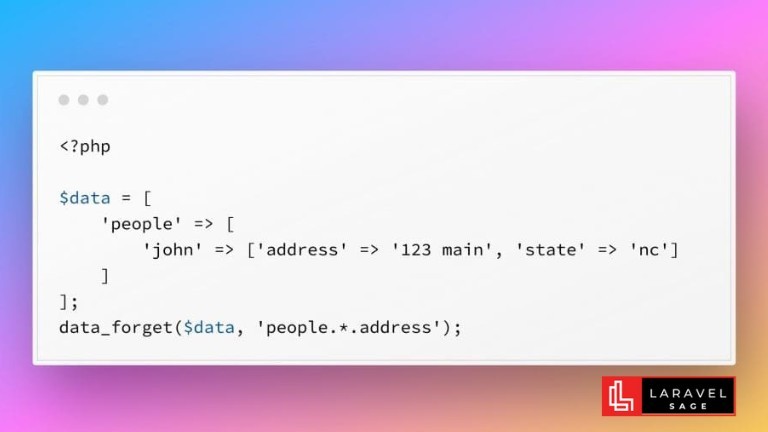
Since Laravel version 10.15, there is a new utility function called data_forget that allows you to remove keys from an array or object using a "dot" notation.
3 min read
Tags:
A Laravel application can be deployed using Docker to ensure it runs exactly the same way everywhere. With Laravel on Docker, you can package an application with all its dependencies into a standardized unit for software development. Here is a step-by-step guide to help you get started.
The purpose of running Laravel on Docker is to package an application and its dependencies into a container, which can then be easily distributed and deployed. Let's discuss why running Laravel on Docker makes sense. With Laravel on Docker, you can run the application anywhere you are.
Consistency: Your application runs the same way everywhere.
Isolation: Your application and its environment are isolated from the host system.
Scalability: Easily scale your application horizontally.
Docker installed on your server machine
Docker and Laravel knowledge is required
A Laravel project to deploy
Create a Dockerfile file in the root directory of your Laravel project and add the following contents:
# Use the official image as a parent image
FROM php:8.0-fpm

# Set the working directory in the container
WORKDIR /var/www

# Install system dependencies
RUN apt-get update && apt-get install -y git curl libpng-dev libjpeg62-turbo-dev libfreetype6-dev zip

# Clear cache
RUN apt-get clean && rm -rf /var/lib/apt/lists/*

# Install PHP extensions
RUN docker-php-ext-configure gd --with-freetype --with-jpeg
RUN docker-php-ext-install gd pdo pdo_mysql

# Copy existing application directory permissions
COPY --chown=www-data:www-data . /var/www

# Expose port 9000 and start php-fpm server
EXPOSE 9000
CMD ["php-fpm"]
This Dockerfile sets up a PHP 8.0 environment, installs some system dependencies, PHP extensions, and finally, copies your Laravel application into the container.
Create a docker-compose.yml file in the root directory of your Laravel project and add the following content:
version: '3'
services:
  app:
    build: .
    container_name: laravel-app
    volumes:
      - ./:/var/www
    networks:
      - laravel-net

  webserver:
    image: nginx:alpine
    container_name: nginx-server
    ports:
      - "8000:80"
    volumes:
      - ./:/var/www
      - ./nginx:/etc/nginx/conf.d
    networks:
      - laravel-net

  db:
    image: mysql:5.7
    container_name: mysql-db
    environment:
      MYSQL_DATABASE: laravel
      MYSQL_ROOT_PASSWORD: root
      MYSQL_PASSWORD: root
    ports:
      - "4306:3306"
    networks:
      - laravel-net

networks:
  laravel-net:
    driver: bridge
This docker-compose.yml file defines a PHP service using our custom Docker image and an Nginx service. It also sets up a private network for them to communicate.
Create a new directory named nginx in your Laravel project root, and within that directory, create a new file named app.conf. Add the following content:
server {
    listen 80;
    index index.php index.html;
    server_name localhost;
    error_log  /var/log/nginx/error.log;
    access_log /var/log/nginx/access.log;
    root /var/www/public;

    location ~ \.php$ {
        try_files $uri =404;
        fastcgi_split_path_info ^(.+\.php)(/.+)$;
        fastcgi_pass app:9000;
        fastcgi_index index.php;
        include fastcgi_params;
        fastcgi_param SCRIPT_FILENAME $document_root$fastcgi_script_name;
        fastcgi_param PATH_INFO $fastcgi_path_info;
    }
}
This Nginx configuration file sets up a web server that listens on port 80 and forwards PHP requests to the PHP-FPM server.
Navigate to your Laravel project's root directory in the terminal and run:
docker-compose up -d --buildThis command will start building your Docker containers. Once built, your Laravel app should be accessible at http://localhost:8000.
Docker is a fantastic resource for simplifying the deployment process by efficiently handling dependencies and ensuring consistent functionality across all environments.
Once completed, you will have a fully functional Laravel application running in container, accessible through any web browser. Feel free to customize this setup to suit your specific needs.

Full-stack developer with a knack for Merging creativity with technical expertise for standout solutions.
Since Laravel version 10.15, there is a new utility function called data_forget that allows you to remove keys from an array or object using a "dot" notation.
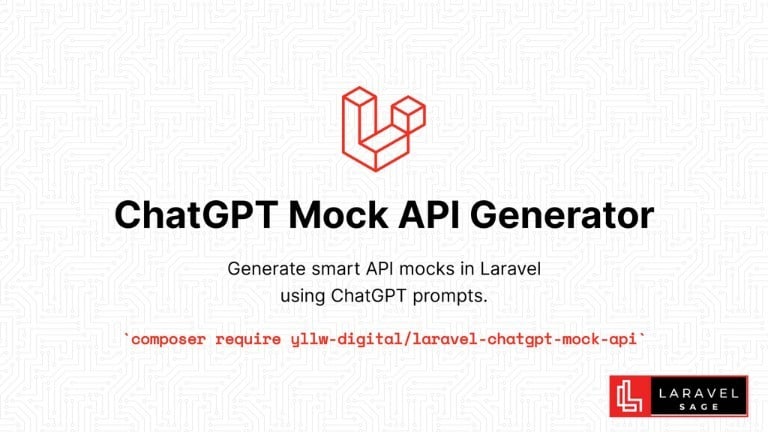
The ChatGPT Laravel API Package Generator package for Laravel generates smart API mocks in Laravel using ChatGPT prompts:

You can make your Laravel app multi-tenant using the Tenancy for Laravel Tenant package. This tenancy package lets you make any Laravel application multi-tenant without rewriting it.

Are you ready to take your Laravel skills to the next level and build extraordinary applications? Look no further! In this blog post, we will unveil a treasure trove of top packages that will revolutionize your development process.
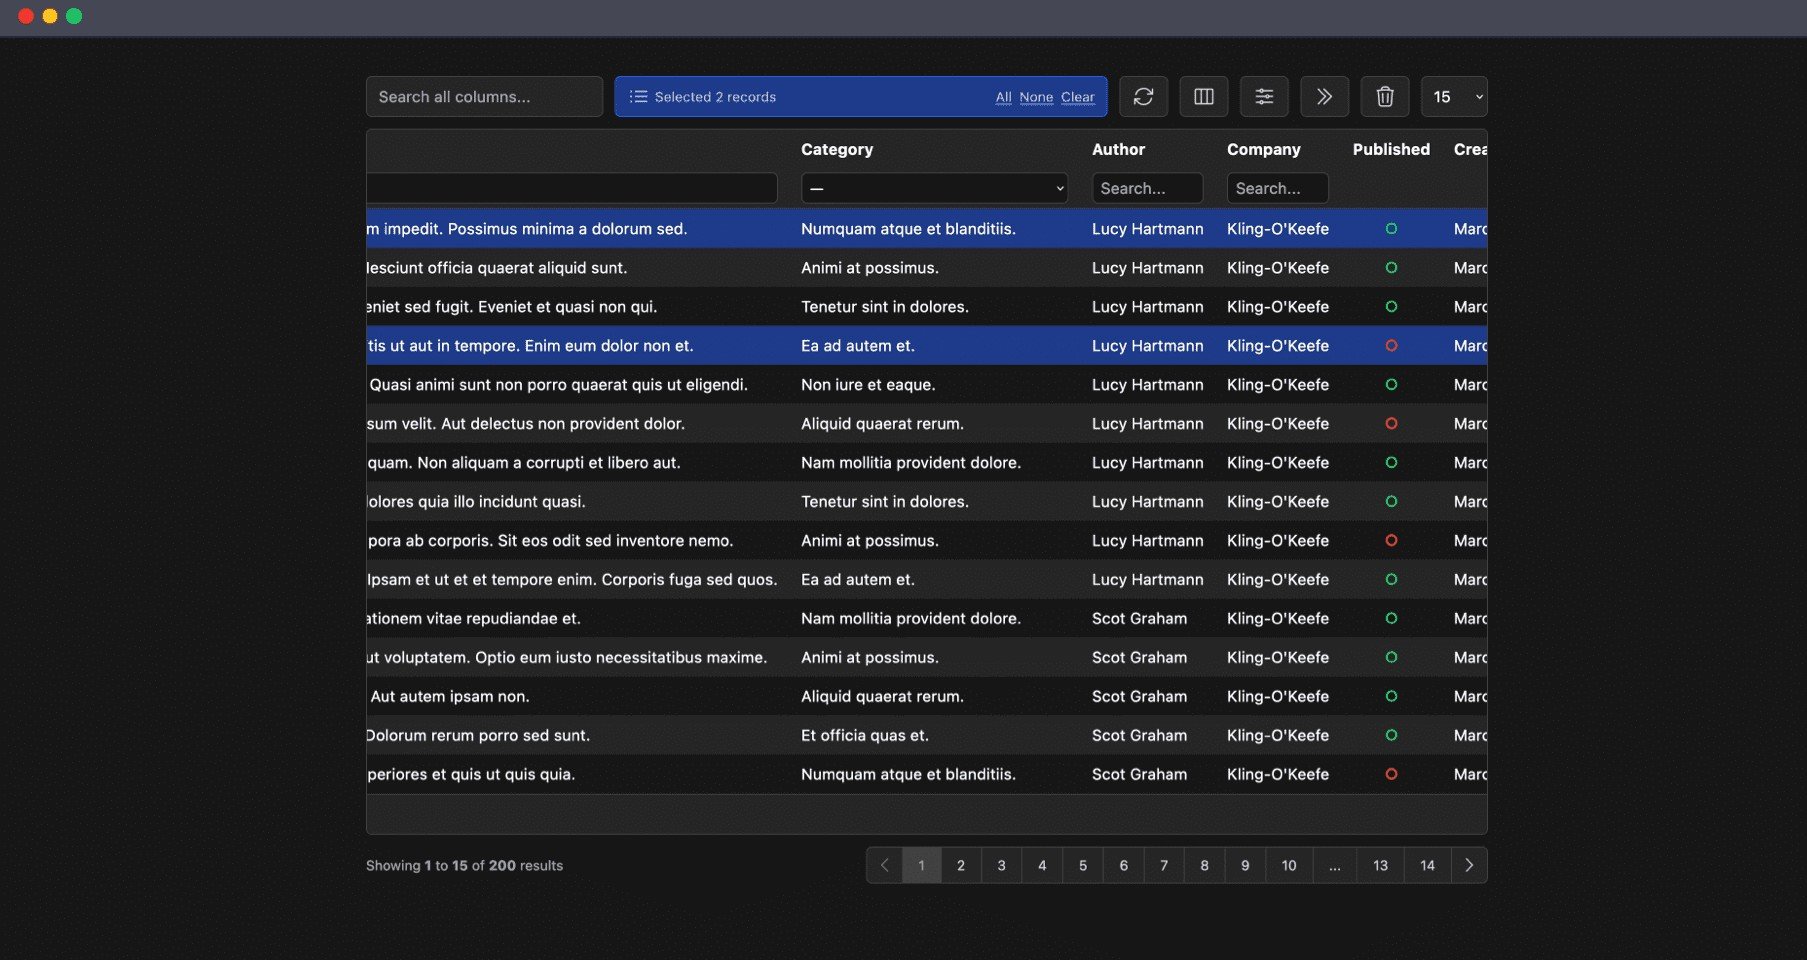
The Livewire Tables package brings dynamic tables for models to Laravel Livewire. These are some of the features which you will get out of the box:

ImageMagick is a powerful tool for image manipulation, and integrating it with PHP can enhance your web development projects.
Subscribe for 20+ new Laravel tutorials every week
You can unsubscribe at any time. You'll also get -20% off my courses!