data_forget Helper for Laravel
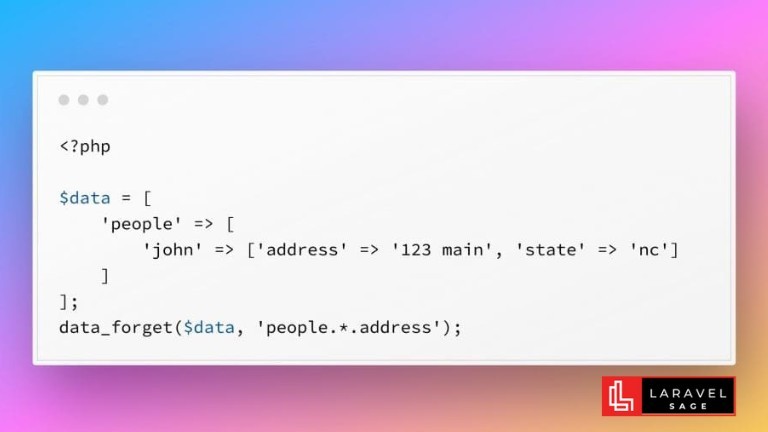
Since Laravel version 10.15, there is a new utility function called data_forget that allows you to remove keys from an array or object using a "dot" notation.
2 min read
Tags:
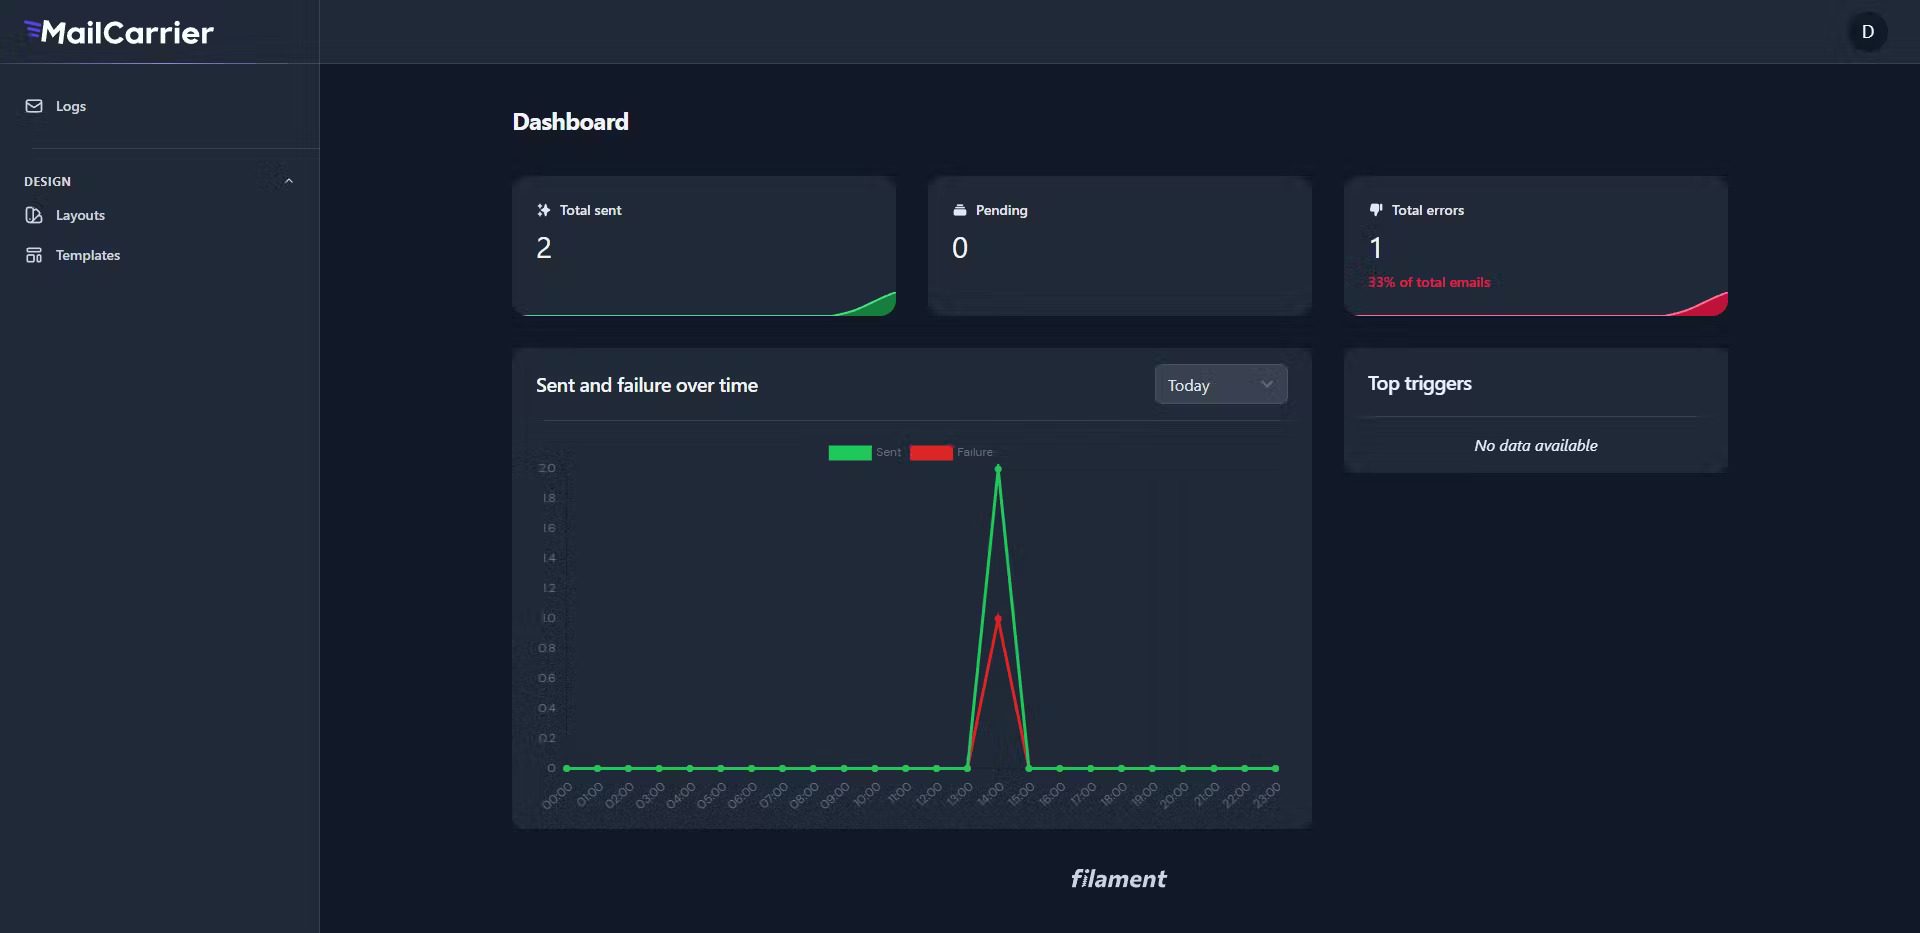
With MailCarrier, you can design emails with a powerful template engine, send them through powerful APIs, and collect logs of already sent emails. It ships with authorization out-of-the-box.
Open Source: 100% open and free, powered by the community.
? Beautiful syntax: With Twig by Symfony, you can explore a beautiful, robust, and expressive template syntax.
? Provider aware: Use your favorite email provider, such as Amazon SES, MailGun, SendGrid, etc.
✨ Friendly APIs: To send emails, use an API endpoint that is friendly and well documented.
?Secure by default: Authentication and API endpoints are always secure: use pre-built authentication systems or bring your own.
? Attachments: Files can be uploaded or fetched from a remote source, such as S3, Spaces, etc.
Background Jobs: In order to avoid blocking the user experience, you can choose whether or not emails should be sent as enqueued, background jobs.
? MJML integration (coming soon): Design responsive emails quickly thanks to MJML framework.
PHP - 8.1 or higher.
Composer - The PHP dependency manager.
Database - Could be MySQL, PostgreSQL or whatever you like.
Run the following command in your terminal to start our handy install wizard.
curl "https://mailcarrier.app/create" | bashIt will clone a fresh Laravel application in a folder named mailcarrier, install MailCarrier and the needed dependencies.
Once the first setup is over, go and edit your .env file inside your brand new mailcarrier application and edit the database environment variables according, for example:
DB_CONNECTION=pgsql
DB_HOST=127.0.0.1
DB_PORT=5432
DB_DATABASE=mailcarrier
DB_USERNAME=mailcarrier
DB_PASSWORD=supersecretpasswordInside your terminal run the last command to complete the process:
php artisan mailcarrier:installIt will install the dashboard and let you choose how would you like to authenticate your users.
Inside your terminal run this command to spawn a web server for MailCarrier:
php artisan serveNow open your browser, navigate to http://127.0.0.1:8000 and have fun!
Complete Documentation is available at

Full-stack developer with a knack for Merging creativity with technical expertise for standout solutions.
Since Laravel version 10.15, there is a new utility function called data_forget that allows you to remove keys from an array or object using a "dot" notation.

The ChatGPT Laravel API Package Generator package for Laravel generates smart API mocks in Laravel using ChatGPT prompts:

You can make your Laravel app multi-tenant using the Tenancy for Laravel Tenant package. This tenancy package lets you make any Laravel application multi-tenant without rewriting it.

Are you ready to take your Laravel skills to the next level and build extraordinary applications? Look no further! In this blog post, we will unveil a treasure trove of top packages that will revolutionize your development process.
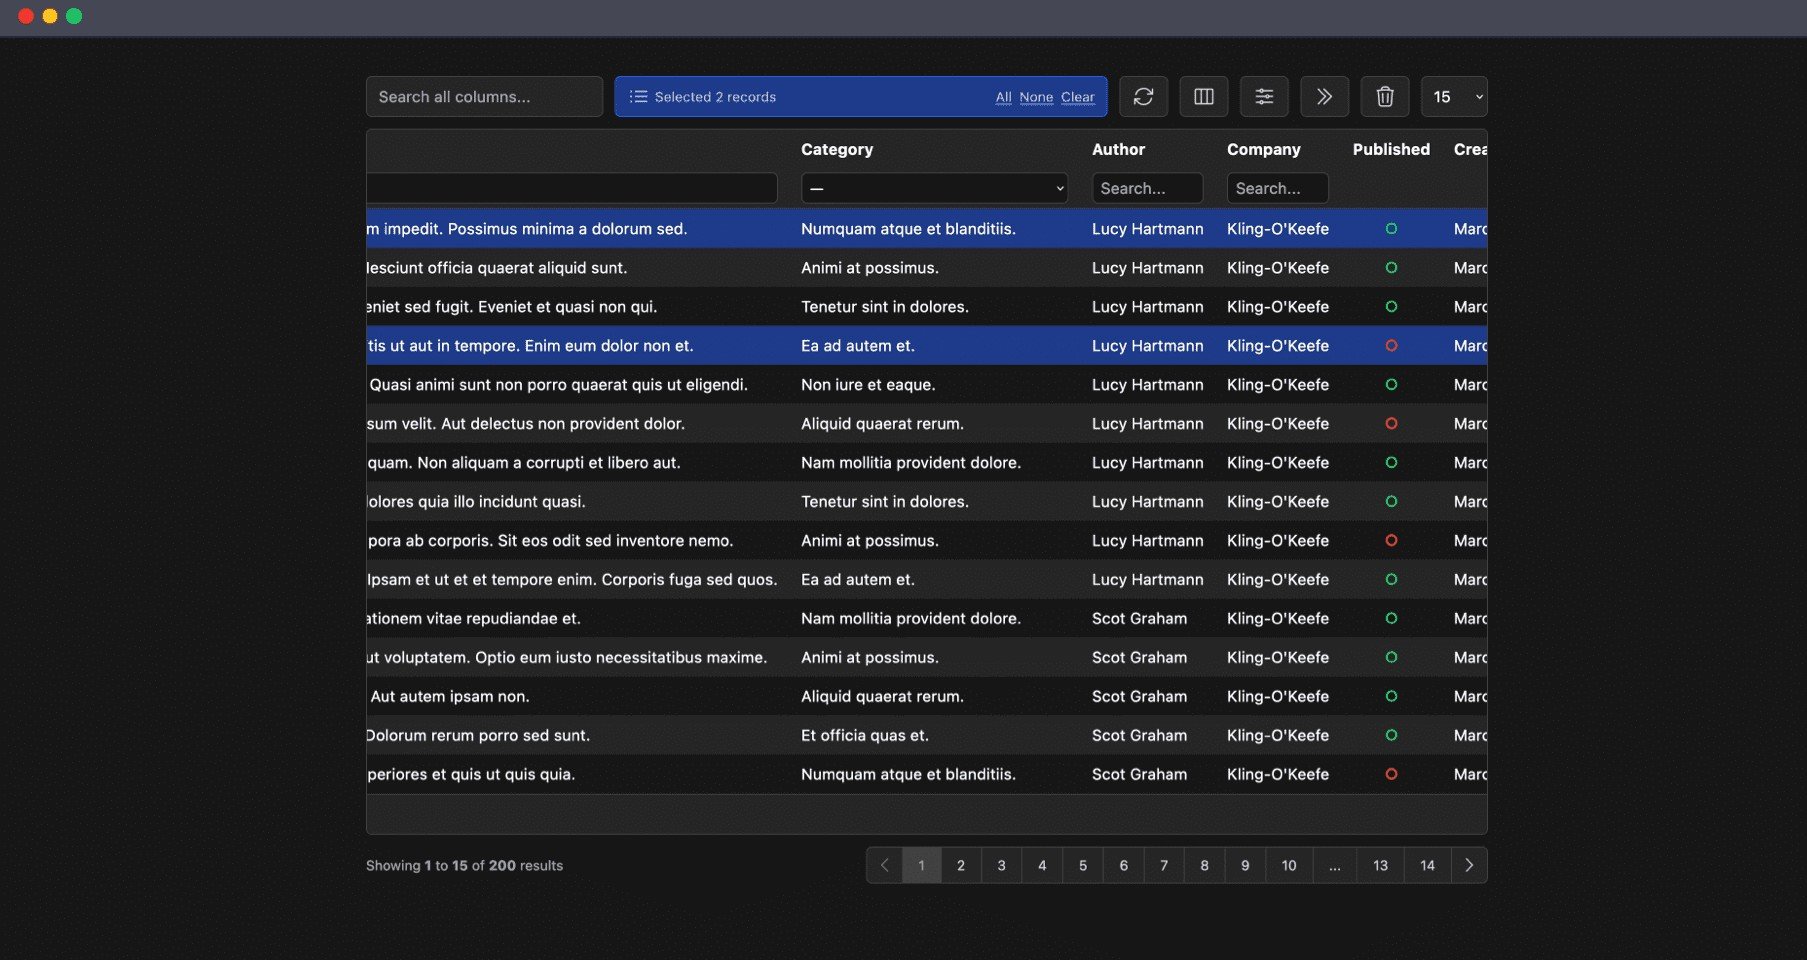
The Livewire Tables package brings dynamic tables for models to Laravel Livewire. These are some of the features which you will get out of the box:
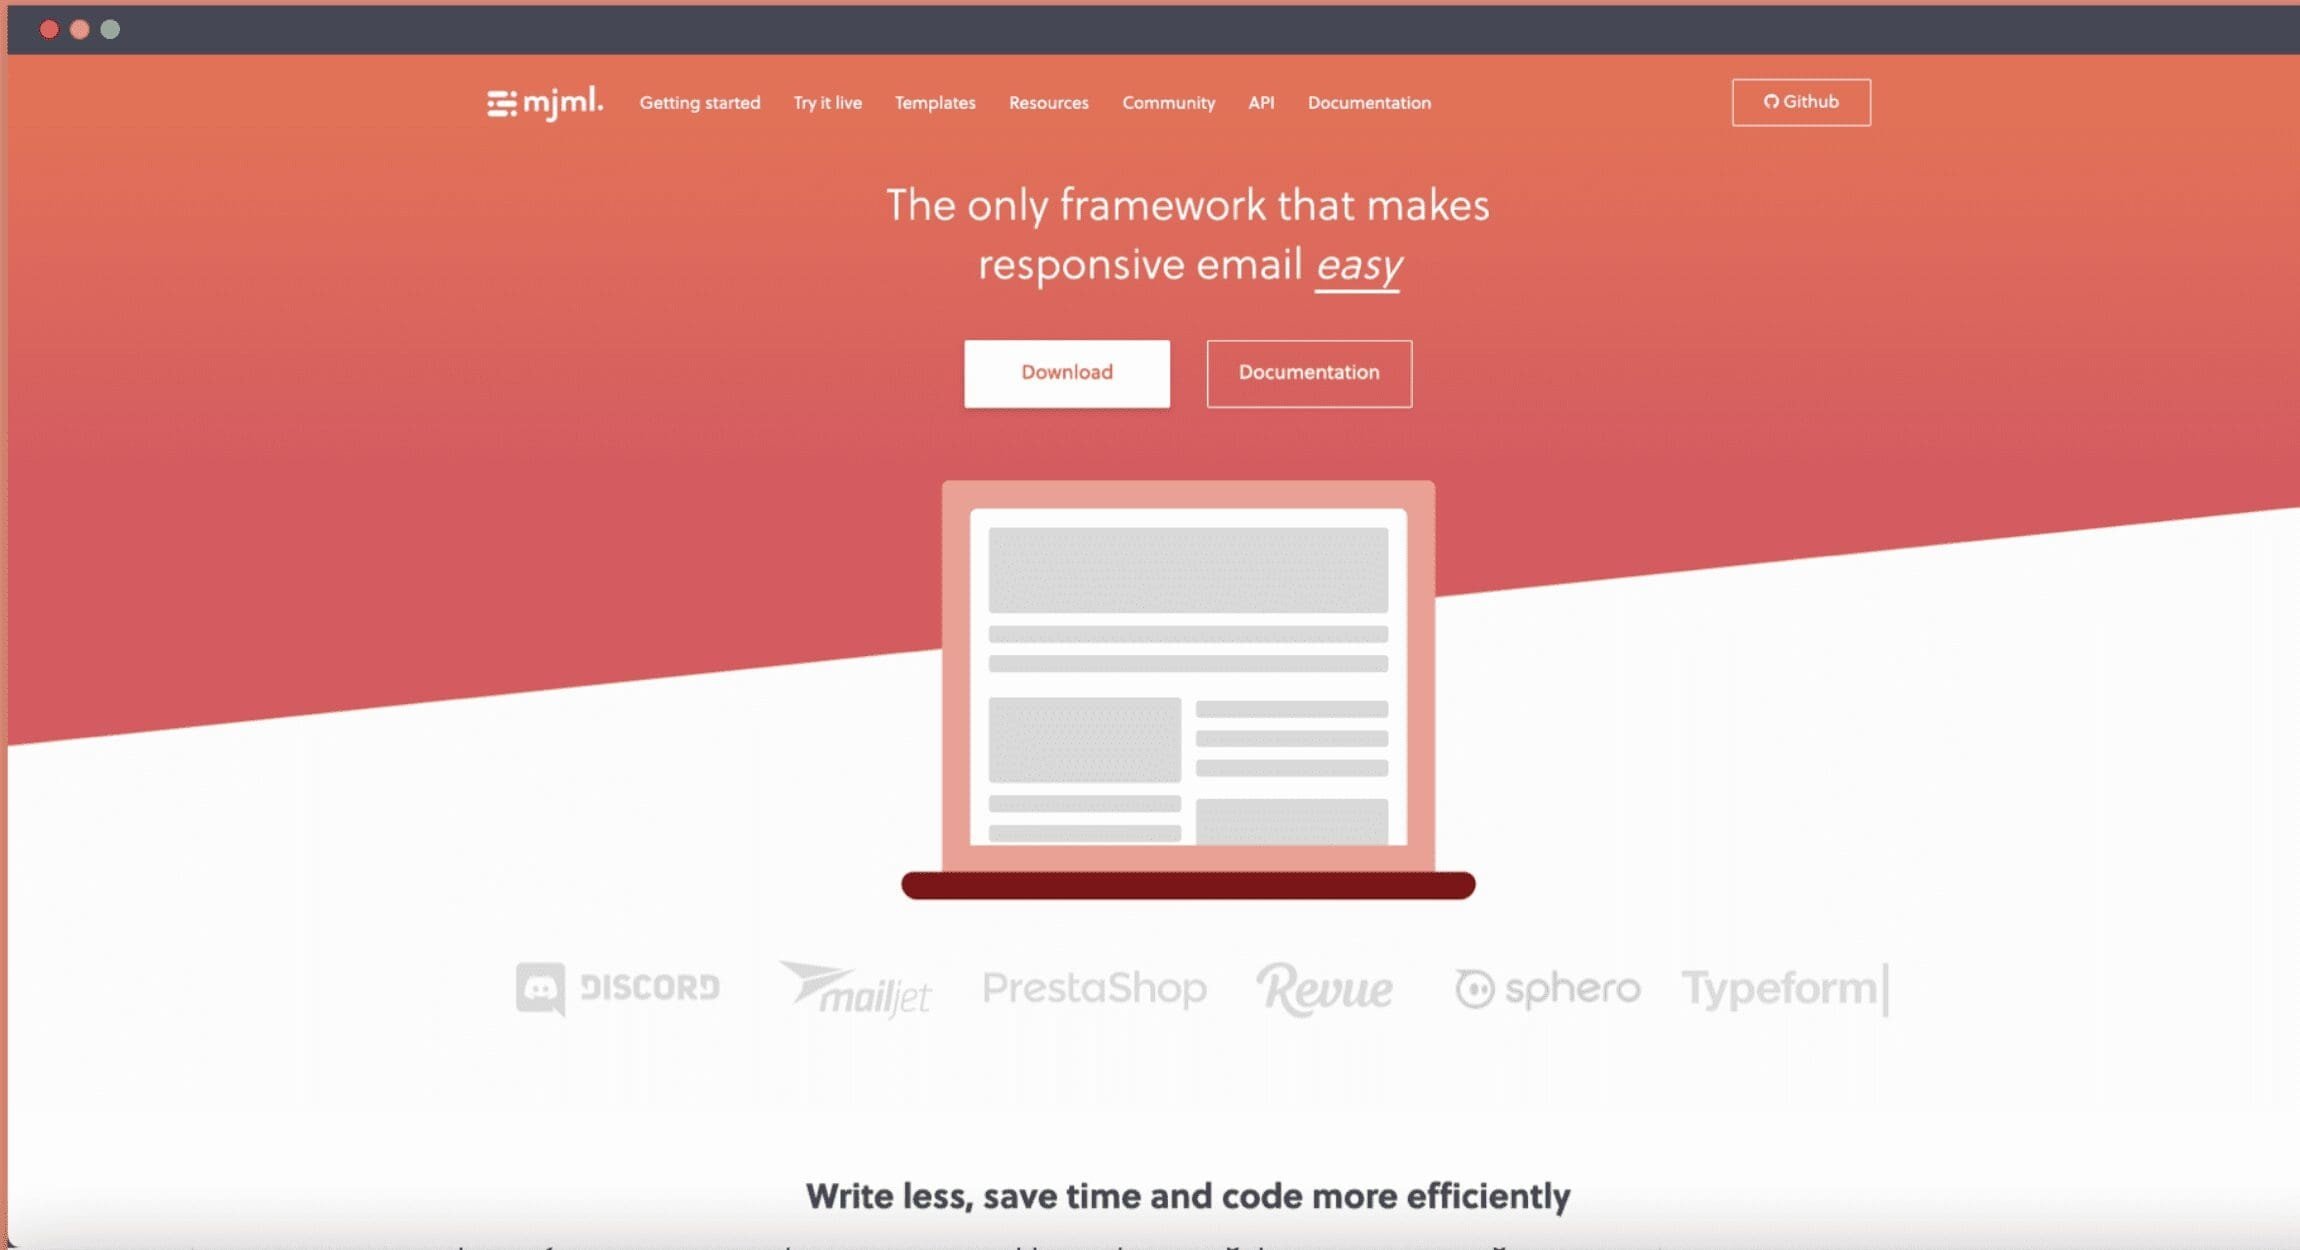
The MJML PHP package by Spatie can help you create email templates more easily. But there is a catch. It can be difficult to craft visually appealing and functional email templates that work across a variety of email clients.
Subscribe for 20+ new Laravel tutorials every week
You can unsubscribe at any time. You'll also get -20% off my courses!